

Last year I posted a FYCE about Costa Rican tamales, which are great Central American food and fun to make, but to be honest also a big messy time consuming project. So now I’m offering another Central American recipe, but vastly faster and simpler, and also really good. Pupusas!
If you haven’t had them, Pupusas are the national food of El Salvador, and their roots go back for easily 1000 years or more. Think of them as ground corn pancakes filled with cheese and/or beans and/or meat, then fried. Once you get the hang of making them, you can have a big bunch made in less than an hour. If you’ve ever made tamales in any form, you know this is much faster in comparison.
And as a bonus, you can make curtido, the standard cabbage slaw that goes with them.
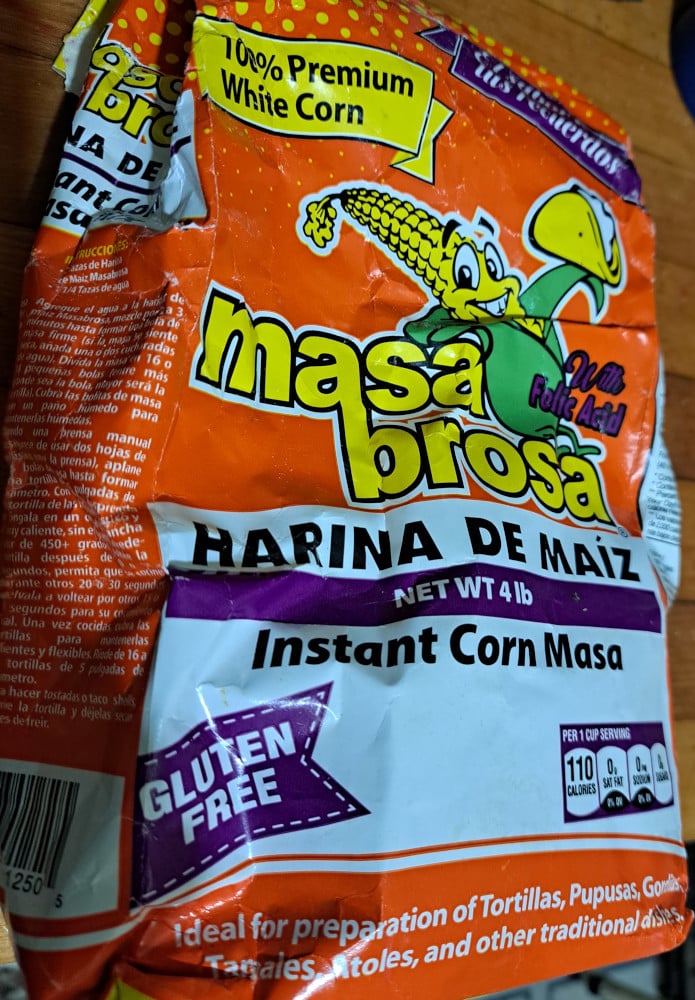
This is the Salvadoran diaspora version, which uses masa harina, aka corn flour made from the same nixtamalized corn used to make corn tortillas, tamales, and corn chips. It’s not the same as regular corn meal, but it’s widely available in grocery stores, often with different competing brands for $4-$5 for a big bag.
Also, it uses cheap white cheese like mozzarella or Monterey jack, which you can find in any North American grocery.
Besides that, you need water and salt. If you’re making curtido, you can get by with cabbage, vinegar, oil and salt. It’s just not a big deal.
Let’s Get Started
A dozen pupusas will be enough for dinner for three, or appetizers for six. To start, put three cups of masa harina in a bowl with a teaspoon or two of salt and mix them together with a big spoon.
Then add two cups of water and mix. At this point, the dough will be pretty crumbly, so add just under half a cup of water more and start squishing it all together with your hands. You want the dough to be a bit thicker than the consistency of toothpaste or frosting from a can. It ought to hold together if you form a ball, but not crack. You may need to add a tablespoon or two of water, but if you add just a bit too much, that’s OK. Just add another tablespoon of masa harina. Keep squishing and mixing it together with your hands, and you’ll get there.

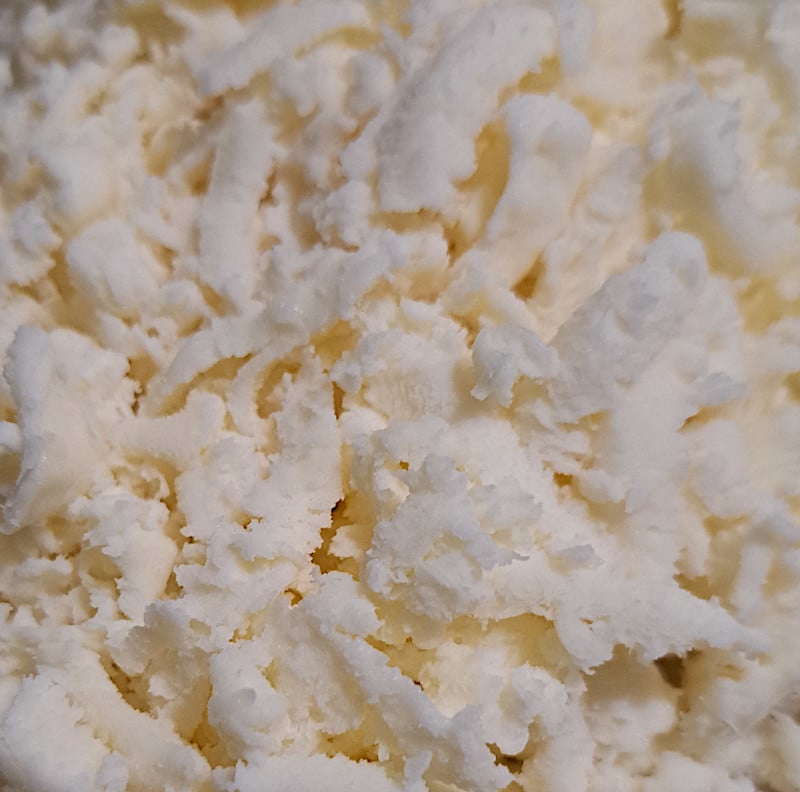
Cover it with a towel or plastic wrap, and let the masa harina finish absorbing the water. Next, grate about 6-8 ounces of white cheese onto a plate and set that aside. You’re ready to start assembly.
Curtido
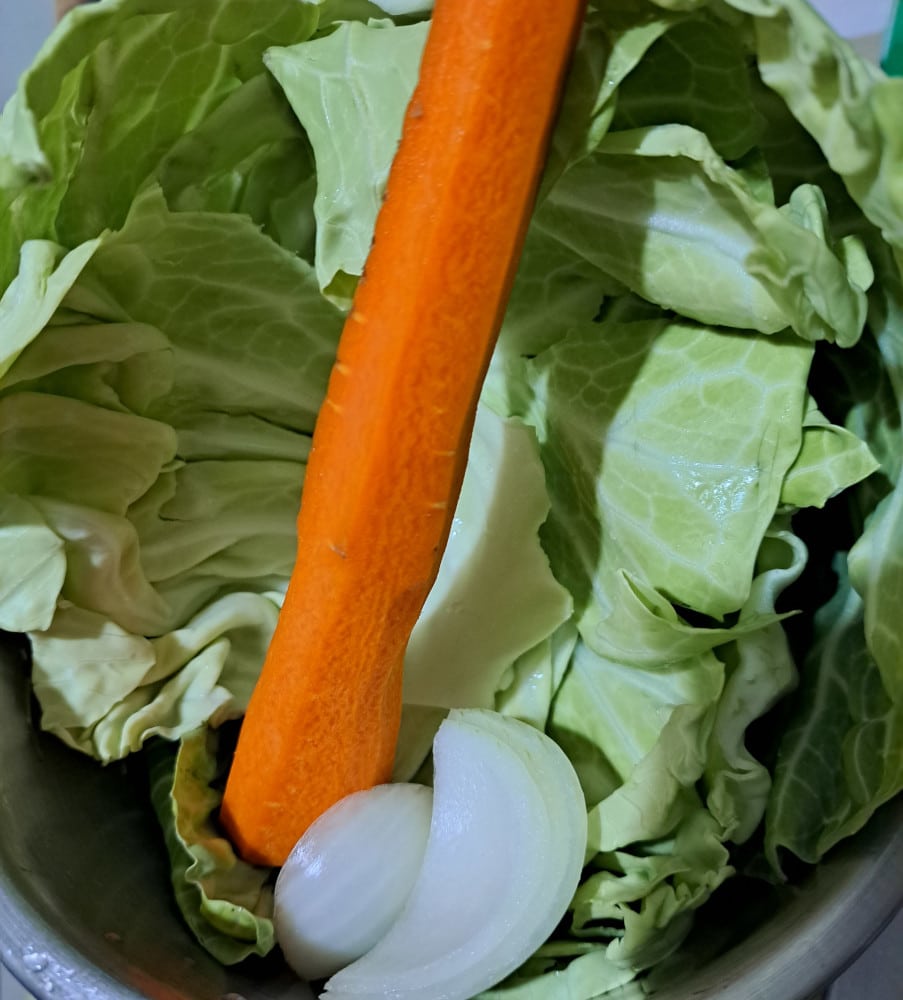
The standard accompaniment to pupusas is curtido. You want to grate or thinly slice about 4-8 ounces of cabbage, enough to make about a packed cup or so. You can sub in some or all of that with purple cabbage. Dump it in a bowl.
Maybe grate up a carrot and toss that in a bowl. If you want, you can add maybe a thinly sliced quarter of an onion, a minced clove of garlic, and/or a thinly sliced jalapeno.
Next, make a dressing of about 1/4 cup of vinegar, a teaspoon or so of salt, and a big pinch of black pepper. If you want, you can add a healthy pinch of cumin, a similar amount of oregano, and a dash of sugar and/or a tablespoon of vegetable oil to mellow out the sourness.
Mix it together and add to the vegetables, and let it sit while you make the pupusas, stirring a few times to let the dressing soften up the veggies.
Making the Pupusas
This recipe makes 12 pupusas roughly five inches across. To get them roughly the same size, cut the pile of dough in the bowl into quarters, then divide one of those quarters into three balls.
The balls should be a bit bigger than a golf ball.

Next you want to divide the cheese into twelve roughly equal little piles on a plate. It helps to eyeball your piles by first dividing into four equal piles, then subdividing those piles into twelfths.
For the next step, it helps to have your hands slightly damp. Hold a dough ball in one hand, flatten it out until it’s about four inches across, then put a portion of cheese in the middle. You can see one at the bottom of the following photos.
Then you fold the dough in half to encase the cheese, pat it back into a rough circle, then gently pat it flat until it’s about 5-6 inches across. Put them on a plate, baking sheet, or wax paper, like the ones at the top of the photo.

You can see that they’re not perfect circles. There are a couple of cracks. That’s OK. People with a lot of practice will make them a bit flatter and wider than mine, but I like to be a bit conservative to keep the cheese from getting out.
Your main goal is to have the cheese contained inside the dough and the pupusas to be rough circles that aren’t too thick. If you want to add meat or beans, just add a teaspoon or two at the same time as the cheese before folding and flattening.
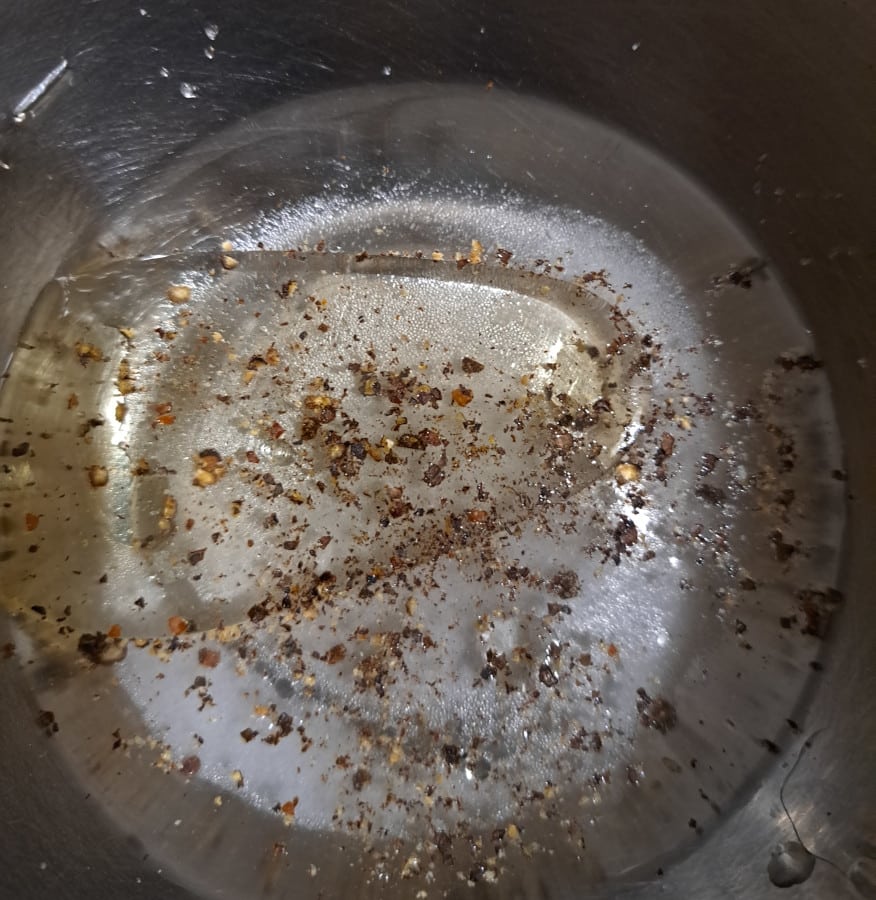
Next, heat up a frying pan over medium high heat, and pour about a couple of tablespoons of oil in the hot pan, and slip 2-4 pupusas into the pan. Fry about three minutes on a side, and then lift it up with a spatula. Peek at the underside, and if it’s about as brown as this picture, flip it over.
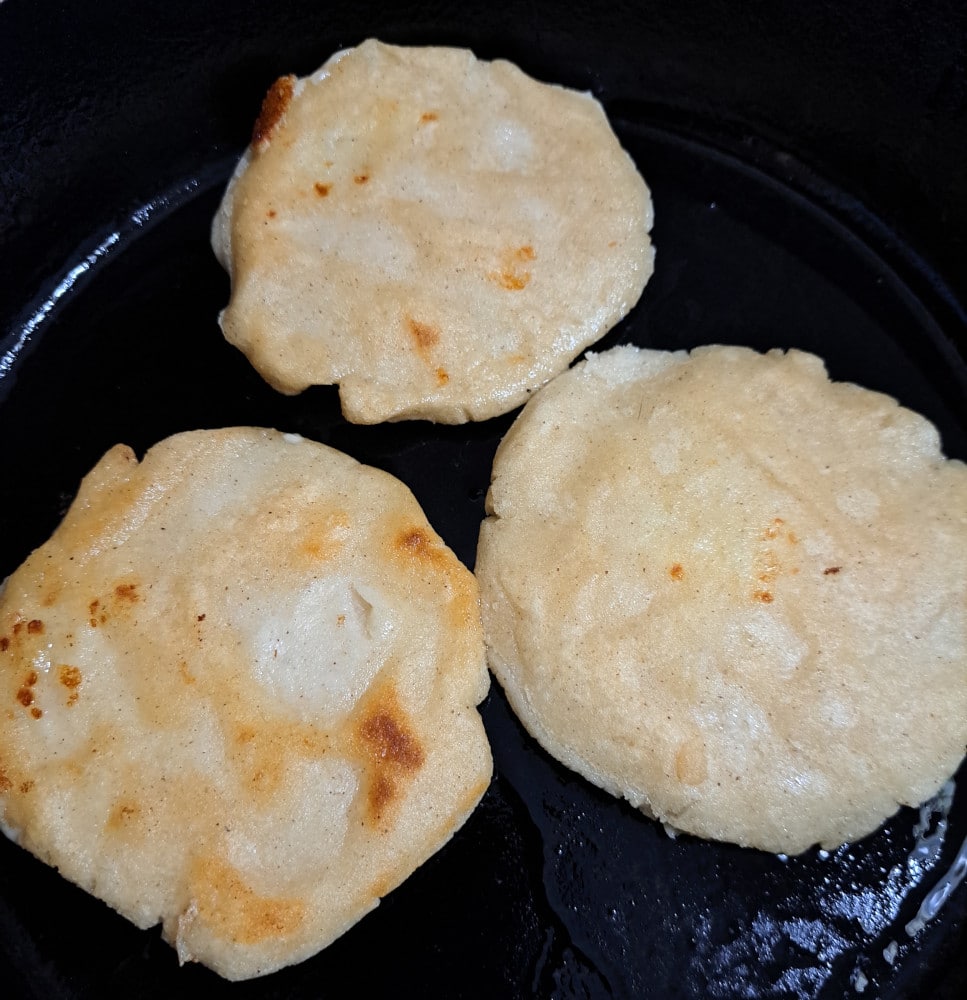
Cook it until it’s about equally brown on the other side, then stick it in an oven set to warm, a bowl covered with a plate, or some other setup you have to keep the pupusas warm. You may see how a bit of cheese has leaked out of the top one. That kind of thing happens, and as long as you don’t have a big gusher, you’ll be fine. Just keep an eye on the cheese so it doesn’t burn or stick too much.
Serve Them Up
Pupusa should be served before the cheese goes solid again. If you need to reheat them, you can just stick them on a cookie sheet in the oven, or reheat on low in a frying pan.
You can top them with curtido or serve it on the side, and if you didn’t make curtido, you can serve them with salsa or beans. Or just eat them plain.
One or two makes a nice snack or appetizer, three or four makes a meal. They’re not as complex as tamales, or as simple as quesadillas, but they’re great in their own way, and not hard to make once you get the hang of it.
Yum! I had no idea that they were so “easy” to make. My mom’s best friend is El Salvadorian and he used to bring them over all the time.
Thanks for the inspiration. I’m going to make these soon.
I think the big thing is just don’t have the pan too hot, so if cheese leaks it won’t burn. But they’re really forgiving.
Yum! I love pupusas but always too intimidated to try to make it. I will have to give it a go.
One of the very few things I miss from the year I lived in Houston is tamales at Christmas time.